5. Defining Analytical Workflows
You can use the Object Explorer (XOE) to analyze complex data very quickly on an ad-hoc basis in order to answer questions immediately. In addition, you can also create Analytical Workflows with the help of XOE.
In principle, you create an Analytical Workflow by combining several previously saved analyses into one workflow. Start by selecting the “Create Analytical Workflow” menu item. You can then add previously saved analyses to this workflow. For each individual window, an entire analysis or even the entire Analytical Workflow you may define how the end user can interact with this workflow. For example, you can define that the user can only set selections in certain windows.
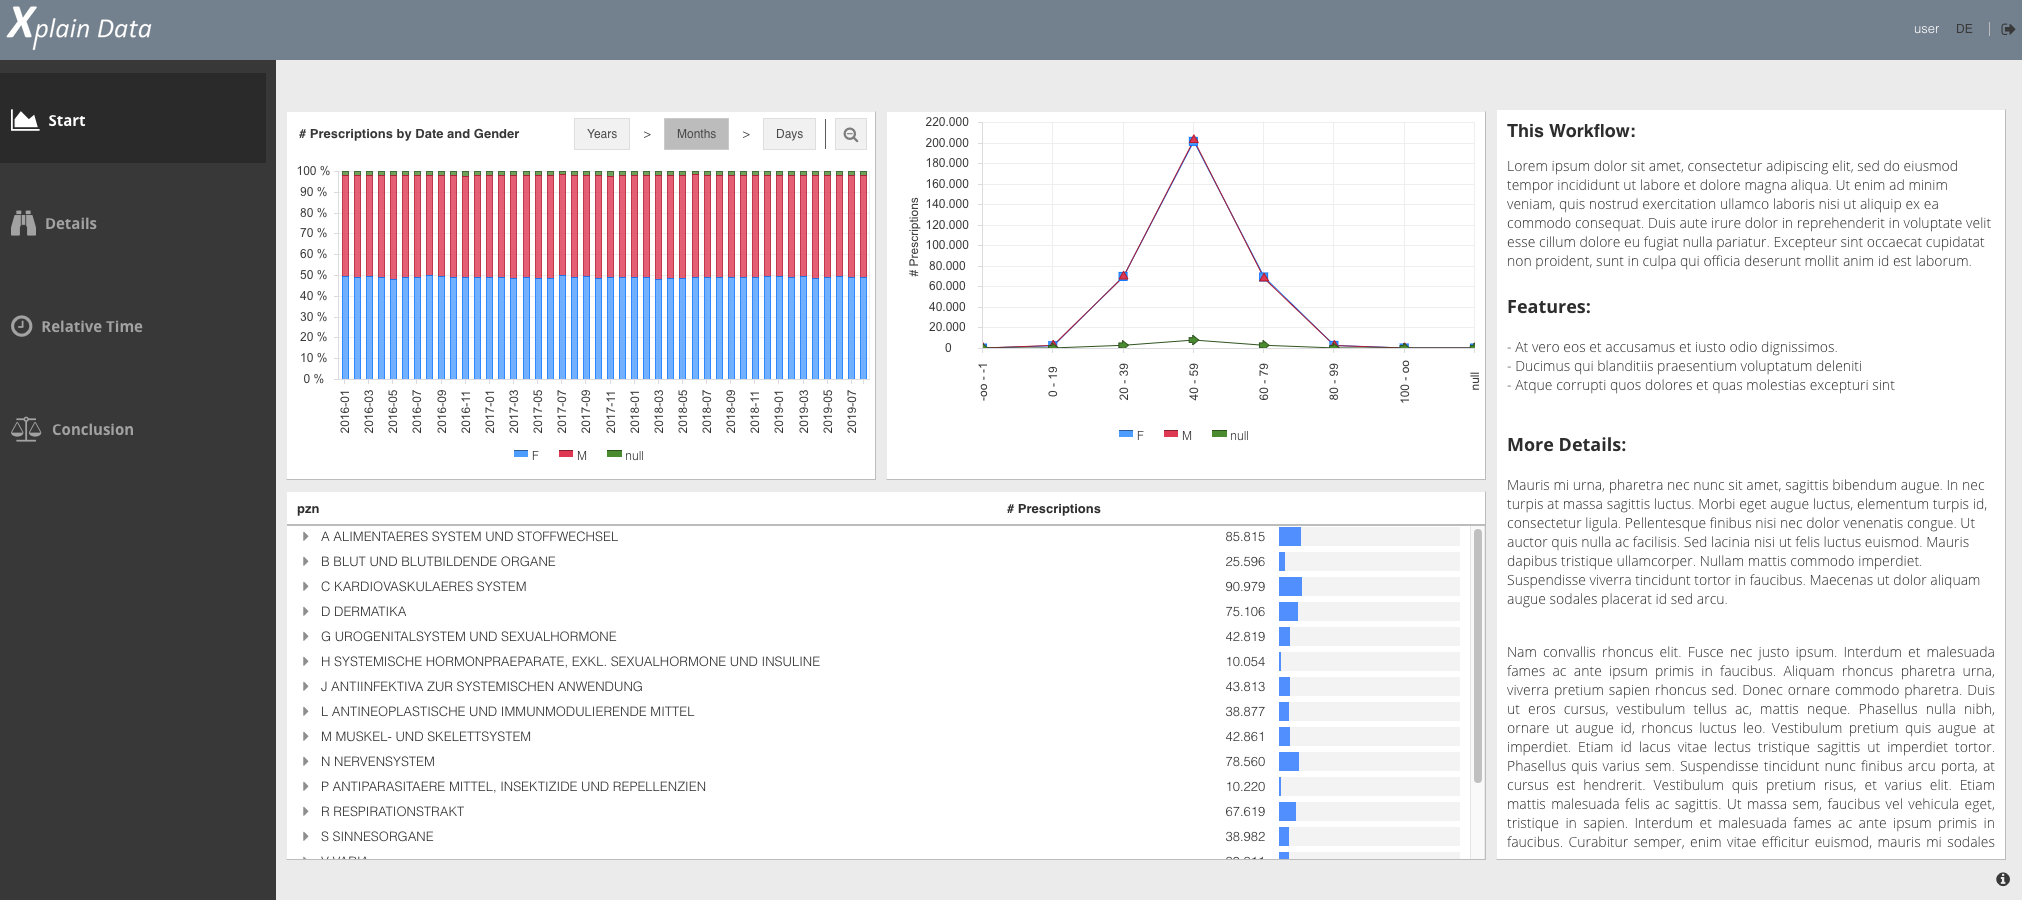
An example of such an Analytical Workflow can be seen here:
After you have saved an Analytical Workflow, a link is generated, which you can then pass on to the users of your Analytical Workflow. They can then use this link to start the workflow at any time.
Click here to see a video on how to create your first Analytical Workflow.
For Developers
You can also extend the functionality of an analytic workflow by using the methods of the xplain.ux.Application class. This allows you to easily create more complex Analytical Workflows. Furthermore, you may use this class to add your own CSS Code, adapt the logo, change the menu, and much more.